Wednesday, June 16, 2010

Beer Review: Widmer Brothers Drifter Pale Ale

We travel up to the Pacific Northwest for our next beer review. Widmer Bros Brewing Company started in 1984 and has enjoyed great success. I especially like that their beers are never overpriced and far outweigh the quality of some of the more expensive stuff on the shelves.


With its unique citrus character, smooth drinkability, and distinctive hop character, Drifter Pale Ale is truly an original. Brewed with generous amounts of Summit hops, a variety known for their intense citrus flavors and aromas, Drifter has a taste unique to the Pale Ale category. True to style, the bittering hops are perceptible enough to give the beer a crisp, clean, quenching finish, yet also soft enough to keep the beer smooth and balanced.
2006 GABF Silver Medal Winner 
Availability:
year-round
Bitterness:
32 IBU
Alcohol by volume:
5.7%
Original gravity:
14.0° PLATO
Malts:
PALE, CARAMEL 20L, CARAVIENNE 20L, CARAMEL 80L, CARAPILS
Hops:
BITTERING: ALCHEMY
AROMA: SUMMIT,
NELSON SAUVIN
DRY HOPPED: SUMMIT,
NELSON SAUVIN
Goes well with:
A variety of fresh seafood and shellfish, but also has the malt backing to stand up to hearty offerings like grilled steaks.
 
Appearance: Pours slightly hazy orange with a small off white head.

Aroma: Floral and citrus hops, light caramel notes.

Flavor: Slight hop bitterness up front. Quickly turns to caramel sweetness. Finishes with sweet citrus hops and pineapple. Moderately sweet, the hops balance the profile nicely and have a great unique fruitiness.

Mouthfeel: Medium body with low - medium carbonation.

Overall: Extremely refreshing pale ale. The malt bill plays perfectly with the hops. The combo of citrus and pineapple is something that is very unique and I have not tasted a pale with that type of hop flavor before. This is a very good example of the style and what I would assume a showcase of the summit hops.


Tuesday, June 15, 2010

Watermelon Wheat Bottling Day

I have to say that this was probably one of the quickest batches I have ever made. A turnaround of 14 days from brewing to bottling. I probably could have got it done quicker but I was out of town.


I cleaned the bottles by soaking them in oxyclean, using a bottle brush, and rinsing them out. After that they all got a soak in starsan to sterilize and put on the bottling tree (seen above) to dry. All of the other equipment including the caps were also soaked in starsan and air dried.


I transferred the newly fermented beer from the carboy to a bottling bucket using an autosiphon. A bottling bucket is basically a bucket with a spigot on it so you can shut the flow off between bottles. After transferring I stirred in 3.5 oz of corn sugar (boiled in 2 cups of water) to prime the bottles so there would be a the correct amount of carbonation that I wanted. I use this calculator to help me determine how much corn sugar I should add, it usually works pretty well however sometimes beers turn out a little more carbonated then I want so I usually go a little lower than what it tells me. In this case I wanted 2.2 volumes of CO2 and the beer was at 68 degrees so it calculated 3.59 oz of corn sugar. I rounded down to 3.5 as it won't make a noticeable difference.


After racking from the carboy to bottling bucket I added the full 4oz bottle of watermelon extract to the beer and gently stirred. It is important to not stir too hard, you are trying to introduce as little oxygen as possible during this process. Then all I had to do was fill and cap each bottle. They are now being stored so that they can carb up and I will test one in about 2 weeks.

The beer finished out at 1.012 gravity points. This gave me an alcohol by volume of 5.4% right in line with what I was going for. Before adding the extract I tasted the gravity sample and it was the perfect balance of wheat, malt, and the hop bitterness was slightly noticeable but balanced out the malt. The beer was golden and perfectly cloudy which is perfect for the style. I would say that the base recipe would be perfect for any fruit flavor.

After adding the extract the Watermelon aroma was stupendous. I tasted and it was right around what I wanted...since the beer was not too sweet and the magnum bittering hops did a great job to balance it this doesn't seem like it will be an overly fruity beer. The watermelon aroma is there and the taste is there but its not too much. The one thing I did notice is that the extract gave it a tiny bit of a medicinal character which I am hoping will go away after the beers carb up. It will definitely change in flavor profile as they meld and the beer carbonates. I cannot wait to try this one in a few weeks and it should be ready by the 4th.

Sunday, June 13, 2010

Beercation: Midwest

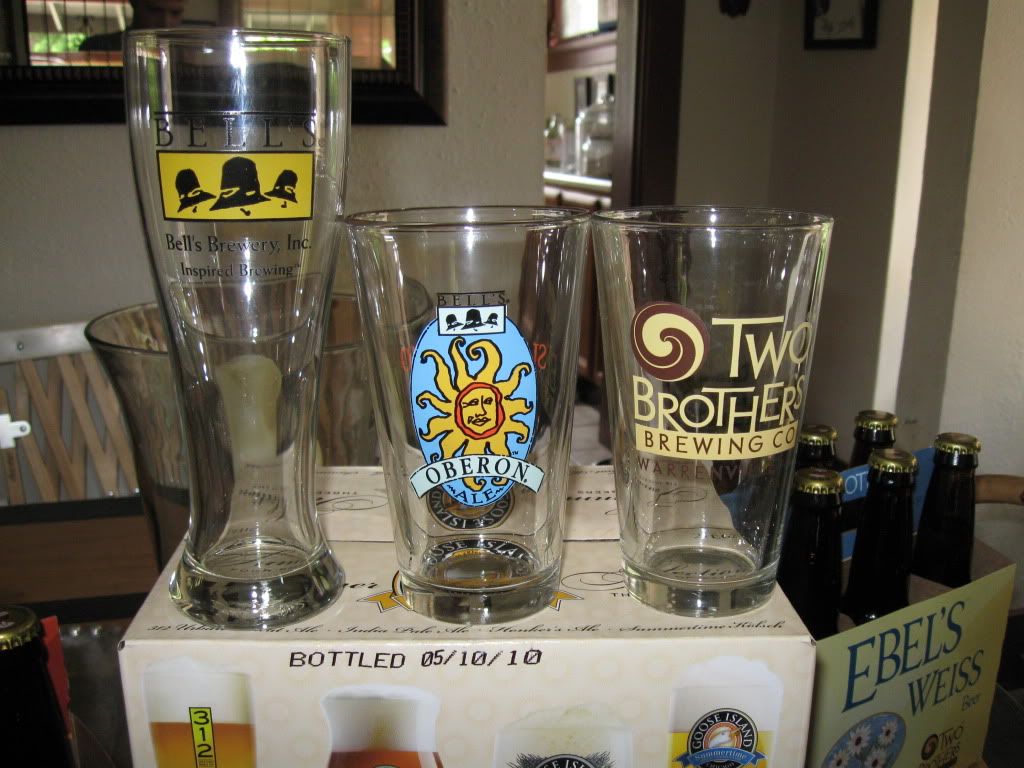
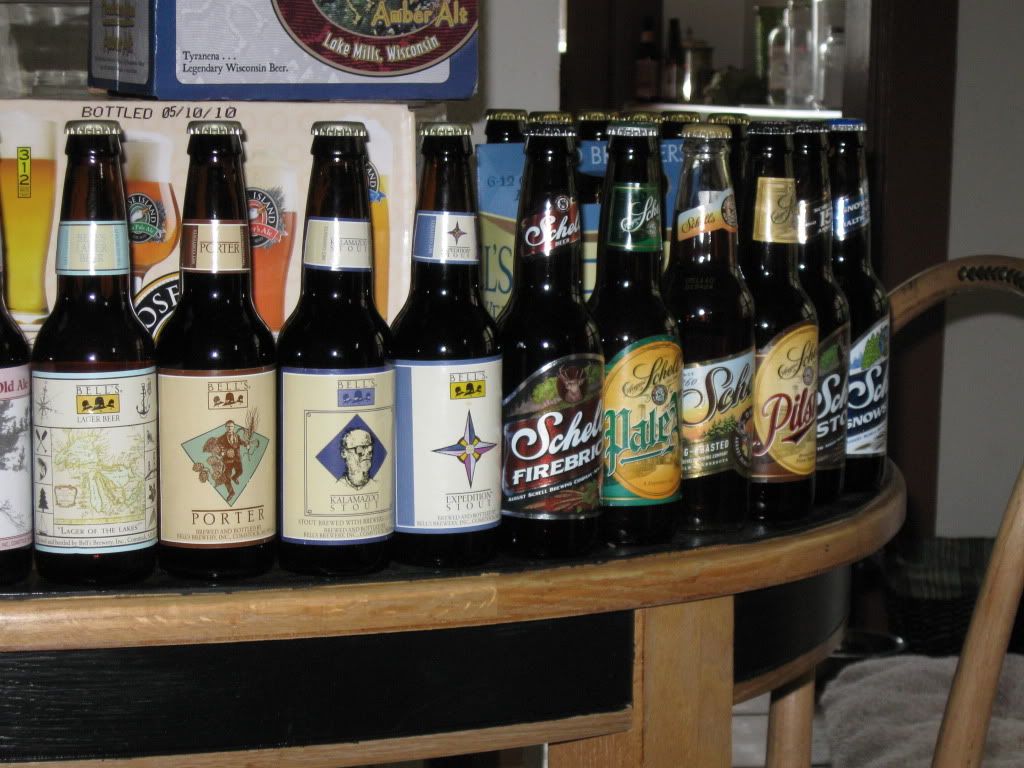
For the last week I had been back to my Midwestern roots. We drove back so we could bring the pup (and maybe so I could cart back the loot I would find). Don't get me wrong I didn't really plan on this as a "Beercation" but as a beer geek pretty much anywhere you travel to turns into one. I knew I was going to go to Two Brothers Brewery as it is in my hometown of Warrenville, IL but other than that the trip was pretty much planned day to day. As it ended up I went up to the western side of Michigan for a few days, I am an alumni of Western Michigan University, and as I have written before Bell's Brewery is one of my favorites and why I am so much into beer culture today. We stopped by the brewpub and the general store and I got my fill of what I cannot get on this side of the Mississippi.


I guess it was planned that I would be bringing back a trunk load on beer. There is just stuff I cannot get out here in Denver, and if I have the opportunity I better stock up. I may not think I went overboard but some of you reading this might think I am somewhat crazy. To my credit the only place I knew I would be buying beer is at a liquor warehouse called Binny's. This place is just amazing...my only problem is that they didn't have a single bottle section so I couldn't come out with more variety. Other than that I would just go into beer geek mode and scope out what there was at the gas stations, convenience stores, or fridges at the brewpubs I ran into along the way.  I found a nice liquor store in South Haven, MI where they sold single bottles, picked up some Goose Island at a CVS downtown Chicago, and saw a sixer of mixed beers from Minnesota brewery Schell's at a gas station on the way back in Nebraska.

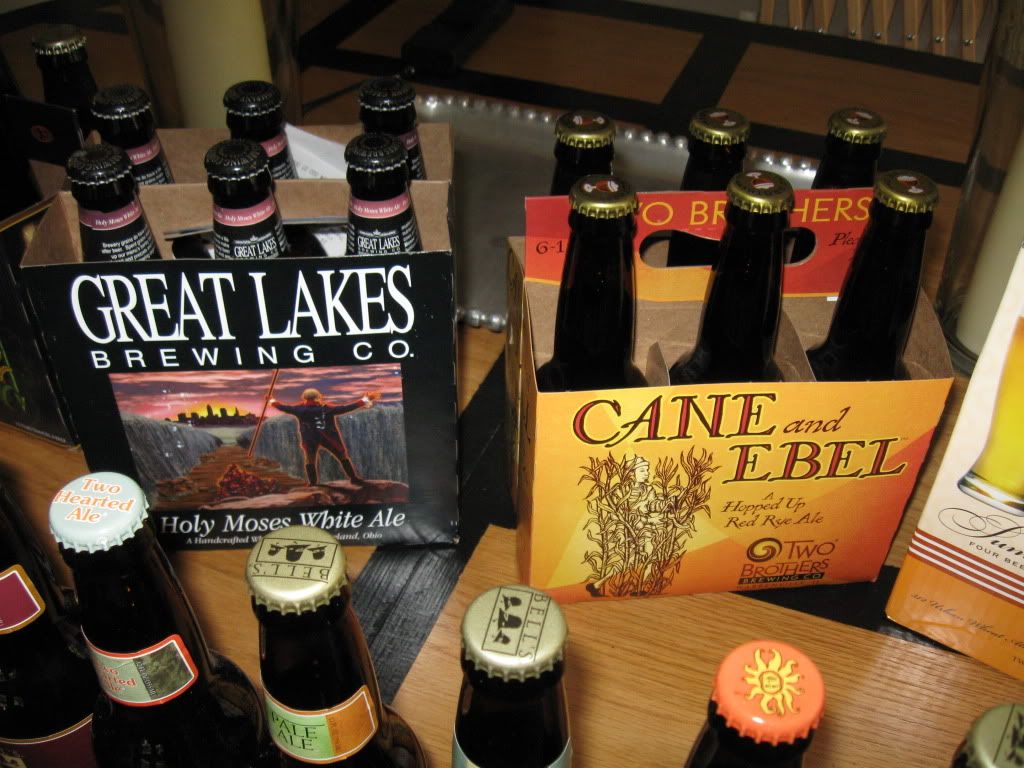
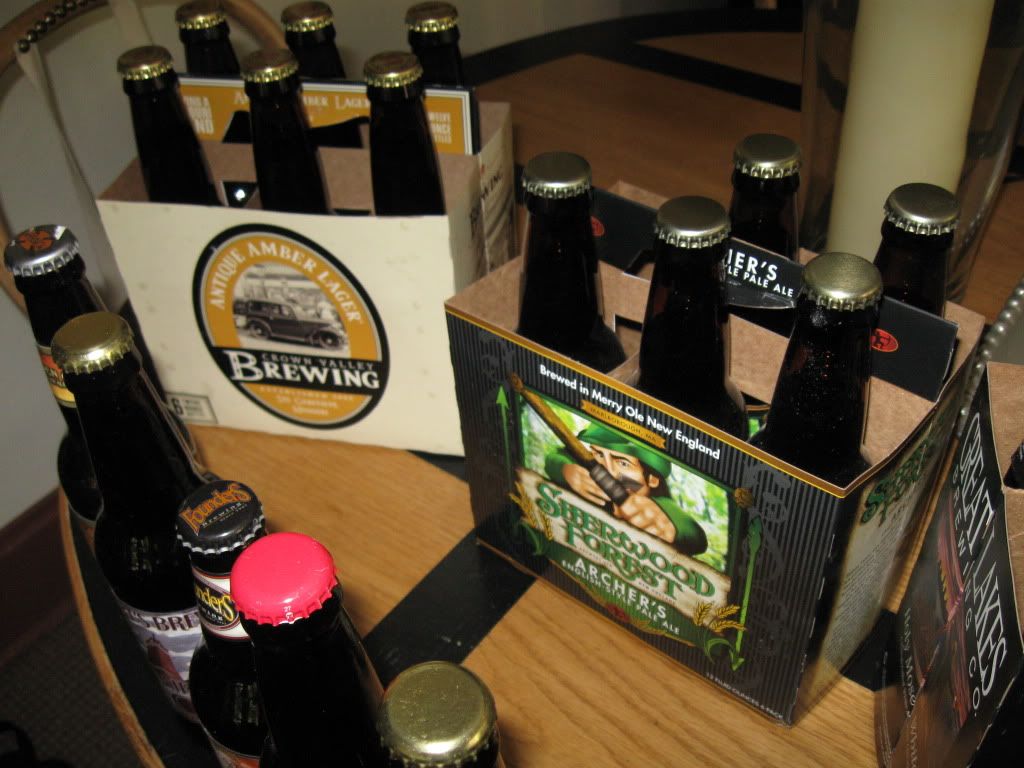
I picked up a total of 33 different beers, many that I have never tried before. Some singles and some six packs. I look forward to reviewing most of these beers on this site, and look more forward to drinking them. Here is my list:

New Holland Brewing Co: Golden Cap Saison Ale
Short's Brewing Co: Bellaire Brown
Short's Brewing Co: Pandemonium Pale
Founders Brewing Co: Red's Rye Pale Ale
Arbor Brewing: Red Snapper Amber
Magic Hat Brewing Co: Vinyl Lager  
Bell's Brewery: Amber
Bell's Brewery: Two Hearted Ale
Bell's Brewery: Pale Ale

Bell's Brewery: Third Coast Beer
Bell's Brewery: Oberon
Bell's Brewery: Third Coast Ale
Bell's Brewery: Lager of the Lakes
Bell's Brewery: Porter
Bell's Brewery: Kalamazoo Stout
Bell's Brewery: Expedition Stout 
Schell's Brewery: Firebrick
Schell's Brewery: Pale Ale
Schell's Brewery: Dark
Schell's Brewery: Pilsner
Schell's Brewery: Stout
Schell's Brewery: Snowstorm
Two Brothers Brewing Co: Ebel's Weiss
Two Brothers Brewing Co: Cane and Ebel
Two Brothers Brewing Co: Baretree Weiss Wine
Great Lakes Brewing Co: Holy Moses White Ale
Tyranena Brewing Co: Headless Man Amber Alt
Sherwood Forest Brewers LTD: Archers English Pale Ale
Crown Valley Brewing: Antique Amber Lager
Goose Island Beer Co: 312 Urban Wheat
Goose Island Beer Co: IPA
Goose Island Beer Co: Honker's Ale
Goose Island Beer Co: Summertime Kolsch

The Baretree is probably my prize, it was advised to age it for four more years

Most courtesy of Bell's General Store

More Bell's

Thanks to the Flying J in Lincoln, NE

Three great scores

Opposites attract

A few breweries I had never herd of

The whole treasure chest

I'd say that's a hell of a pull. In the near future I'll be giving some brewpub reviews on Bell's and Two Brothers, as well as beer reviews of the amazing little beauties posted above.

Been out of town

Been out of town for the last week which is why I haven't been posting. Got a lot of new stuff to share this week and a lot of more midwestern beer to review. Hopefully tonight or tomorrow I will get my "Beercation" post published.

Thursday, June 3, 2010

Beer Review: Anchor Brewing Small Beer

Anchor Brewing Company was the leader of the resurgence of American craft brewing in the 70s. Today I am going to review their small beer. Anchor Small beer is brewed in the old English style of parti gyle brewing. This is where a stronger beer is made from the first runnings from the grain and a lighter beer is made from the second runnings.

The tradition of brewing two distinct beers from one mash has existed for thousands of years, and for centuries the term "small beer" was used in English to describe the lighter and weaker second beer. By association, the term came to mean something of little importance.

Let's get small We make our Old Foghorn Barleywine Style Ale from the rich first runnings of an all-malt mash, and Anchor Small Beer is our attempt to duplicate the "small beers" of old by sparging that same mash: sprinkling warm water over the Old Foghorn mash after the first wort has run off, thereby creating a second, lighter brew from the resulting thinner wort. Technically, both beers are "ales" because they are made with top-fermenting yeast.

We believe you will find Anchor Small Beer delicious—similar to what modern brewers call a "bitter"—and we hope you will also enjoy the idea of reviving an ancient brewing tradition, which is something of great importance.


When we initially attempted Humulus lupulus, AKA fresh whole hops Small Beer, we quickly realized we had a lot to learn: How much to sparge? What gravity to look for? What sort of hopping to employ? But, from the beginning, we were astonished to find that the "small beer" we were making certainly was not small beer in the linguistic sense—it was good, it was rich, it was wonderful ale! We hope our loyal customers will agree this is a tradition worth reviving.

Appearance: Pours golden and crystal clear with a fluffy white head. Reduces to a rocky off white head with great lacing. 

Aroma: Very faint smell of malt and earthy hops

Flavor: Bitterness up front going towards earthy hops at the end. Bitterness lingers slightly. I pick up a small amount of metallic flavor. There is a small amount of a malty and biscuit background. Very light.  

Mouthfeel: Very thin, almost watery. Medium carbonation with no bite. 

Overall: This is a good version of an English bitter from an American brewery. Very refreshing on a hot dry day while I was brewing the Watermelon Wheat beer. BItterness is at the right level where it doesn't linger too long on the tongue. Very drinkable and almost as thin as a BMC beer. Would like a tinge of caramel and more fruity esthers. 

Wednesday, June 2, 2010

Brew Gear: Fermcap-S (foam control)

In homebrewing you are bound to have a problem with foam a time or two. Whether it's when your making a yeast starter, boiling wort, or fermenting in a smaller vessel foam can lead to some unwanted messes.


Fermcap-S is a silicon based goo that will help with keeping the foam down to a tolerable level. Basically it works the same way as rubbing your nose and then swirling around your finger in the foamy red cups you had at those college keggers. Trust me though, it works a lot better than facial oil. The substance basically breaks the surface tension so that the bubbles have a harder time to form.


The first place this stuff can be used is in your yeast starter. Most people boil the malt extract in an erlenmeyer flask directly on a burner. Just like any other liquid you are cooking on the stove, it is highly susceptible to a boil over. Put a drop or two of fermcap-s in and boil away.


Same works in the boil kettle, mine is usually filled to about an inch under the rim. Adding hops and such sometimes aggravates it and it wants to spill all over the ground...luckily 5-6 drops of fermcap-s will keep my boil rolling just under the rim and not waste any of my sweet precious wort. The above picture shows just about the time I add the drops in.

When using it for boil overs the heat and intensity will break it down where it is not a factor in the finished beer. 


I would have to say that the most beneficial use (and I speak from experience) is using it in the fermentor to keep the krausen at bay. The above picture shows what can happen while the foamy yeast substance keeps rising and rising during an active fermentation. What you don't see is that the airlock shot clear off along with a spray of fermenting wort in all different directions. You'll often find that most homebrewers have a ceiling mopping story. The first two keys to controlling a foam issue is fermentation temperature and head space in the fermentor. Brewers might not always have these luxuries. I used to brew in a five gallon carboy in my closet, which is when I had my ceiling (and everything else) mopping incident. I then learned about blow off tubes (shown below) which helped with containing what wanted to come out but would still leave me with less beer than I started out with. 


I have a mini fridge for fermenting, a larger 6 gallon carboy, and use a blowoff tube now. Before I found fermcap-s I would still have issues from time to time of very violent fermentations causing issues. I now use it in every batch of beer I brew. It is as easy as dropping about two drops per gallon of wort right after you pitch the yeast. As Ron Popeil would say "Set it and forget it." People may argue that you are putting silicon in your beer and that could be a health risk. Well it is a very small amount, plus as the bubbling slows down the fermcap-s will settle out to the bottom and get caught in the trub. As an added benefit this news article just came out and says that the silicon in beer may reduce the risk of osteoporosis.   


You may also think that adding this would hurt the head retention of the finished beer. It actually has the opposite effect, since the silicon goo falls out and the beer is transferred off of it then it will not affect the foamy head later. When krausen exits through a blow off tube you also lose a lot of the naturally occurring foam stability compounds with it. So if you keep the krausen at bay and let it fall back into the fermented beer you will not lose those compounds.


If you have any issues with foam in your brew day I highly recommend trying out this product. Trust me it will save you some pain and cleaning time later down the road. You don't want to end up like these brewers below.


And lastly, here is a great time lapse photo set of a guy using fermcap-s

Tuesday, June 1, 2010

Watermelon Wheat Brew Day

Great weekend here in Denver and I was able to get up early and start brewing on Sunday morning. This brew day went unhitched and everything fell pretty close to where I wanted it.


Heated up my mash water to about 170 and let it sit in the mash tun for a little to heat up the tun and lower the temperature so that after adding the grain I would hit my mash temp.


Added the grain to the mash water slowly while stirring to avoid grain clumps. If there are clumps all of the starches in the grain will not convert to sugars. I also added 1 tablespoon of Five Star pH 5.2 buffer. This would get my mash pH to exactly 5.2, this is the area you want so that the mash works correctly. My pup Ellie was helping out.


After stirring in the bag of grain I let it sit for a few minutes so that the temperature would equalize. I was shooting for 153 degrees but as you can see i was 1.3 degrees off. Nothing too extreme so I left it where it was, this will give my beer a little more body and sweetness.


I covered the mashtun and let the enzymes brought alive by the warm water convert the grain starches into sugar that will eventually ferment and give me alcohol. I let the mash go for about an hour and a half while I walked my dog. I then drained the wort into my boil kettle.


After sparging (rinsing the sugar off the grain) I had a kettle full of sweet wort that I took outside and put on my burner.


I brought the wort up to boiling and added my one hop addition, .35 oz of GR Magnum. I usually use a hop bag when I use any type of hop, I decided just to throw them in for this batch because there was so little that I didn't see them causing a problem. After that I set the timer for 60 minutes and did some other stuff.


With about 15 minutes left in the boil I added my immersion chiller and hooked it up to the hose. When the boil was done I turned off the burner and started the hose water through the immersion chiller. Basically cold water runs through the copper tubing and transfer the heat to the cold water in the tube, the hot water exits and cools the wort. Proper cooling is important to create cold break that will cause haze in the finished product and also so that you do not let it stay in a temperature range where it is more likely to get infected. 


After letting the chilled wort sit awhile, so that some of the break material that forms can settle at the bottom, I opened up the spout and let the wort transfer into my fermenting vessel. It is transferred by gravity and is fed through a funnel with a screen. The screen has two effects, it will catch any hop junk from going into the fermentor and it will also aerate the wort as it passes through. This is important because yeast need oxygen to ferment the sugars into alcohol.


I took a gravity sample and my predicted original gravity was just about right. The wort was still at 78 degrees at this point so I adjusted the reading for temp (hydrometer is calibrated at 60 degrees) and wound up with an original gravity of 1.053.


A few days earlier I made a yeast starter with my smack pack of Wyeast 1007. This is basically a procedure of making a small amount of wort with dry malt extract. Adding the yeast and letting it ferment the starter wort. This will allow the yeast numbers to grow and ensure that your yeast is healthy. I use Mr. Malty's Yeast Pitching Rate Calculator to determine how much yeast and how big of a starter to use so I have enough yeast to ferment my wort cleanly. I put the yeast into the fridge the night before so that most of it drops to the bottom.


After decanting most of the starter wort off the yeast I left a little and swirled so the yeast would be pourable. I poured it into the fermentor and shook it a little to mix it in the wort.


After adding the yeast I attached the blow off tube and I put my fermentor into my mini fridge. I taped the temperature probe from the Johnson Control (thermostat) to the side of the fermentor and set it at 60 degrees. This will cool down the wort and keep it at my fermenting temperature. 


My final page in my brew log, such a simple recipe that it barely took up half the page.


After about 18 hours this is what the fermenting wort looks like. As you can see my temp is right at 62 degrees which is what I was shooting for with this strain of yeast. I will let this ferment for another few weeks. I am going out of town next week so it will sit for awhile and fully ferment out. The next update will be racking and bottling. I am skipping the secondary on this beer so this will hopefully be ready for 4th of July festivities.